-
Table of Contents
- Mastering Real Estate Photography: Tips, Techniques, and Tools
- Understanding the Importance of Real Estate Photography
- Essential Real Estate Photography Tips
- 1. Mastering Real Estate Photography Lighting
- 2. Choosing the Right Real Estate Photography Equipment
- 3. Real Estate Photography Editing Techniques
- Real Estate Drone Photography: A New Perspective
- Pricing Your Real Estate Photography Services
- Conclusion
- Questions and Answers
Mastering Real Estate Photography: Tips, Techniques, and Tools
In the competitive world of real estate, first impressions are everything. High-quality real estate photography can make or break a listing, capturing potential buyers’ attention and showcasing properties in their best light. Whether you’re a seasoned photographer or a real estate agent looking to improve your listings, understanding the nuances of real estate photography is crucial. This guide will walk you through essential tips, techniques, and tools to elevate your property photography game.
Understanding the Importance of Real Estate Photography
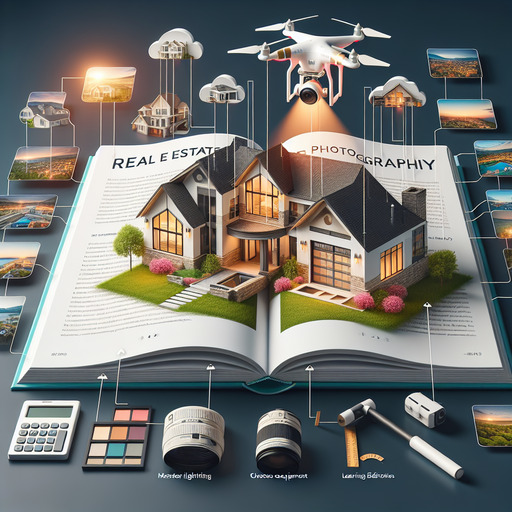
Real estate photography is more than just snapping pictures of a property. It’s about creating a visual story that highlights the unique features and potential of a home. Quality photos can significantly impact a property’s perceived value and the speed at which it sells.
- First Impressions Matter: Listings with professional photos receive 118% more views than those without.
- Faster Sales: Homes with high-quality images sell 32% faster than those with low-quality visuals.
- Higher Selling Price: Properties with professional photography can sell for up to $11,000 more.
Essential Real Estate Photography Tips
1. Mastering Real Estate Photography Lighting
Lighting is a critical component of real estate photography. Proper lighting can enhance the mood and highlight the best features of a property.
- Natural Light: Shoot during the golden hours (early morning or late afternoon) to capture soft, natural light.
- Artificial Lighting: Use external flashes or softboxes to fill in shadows and create a balanced exposure.
- Editing: Adjust brightness and contrast during post-processing to achieve the perfect lighting balance.
2. Choosing the Right Real Estate Photography Equipment
Investing in the right equipment can make a significant difference in the quality of your photos.
- Camera: A DSLR or mirrorless camera with a wide-angle lens is ideal for capturing spacious interiors.
- Tripod: A sturdy tripod ensures stability and allows for long exposure shots in low-light conditions.
- Drone: For aerial shots, a drone can provide unique perspectives and showcase the property’s surroundings.
3. Real Estate Photography Editing Techniques
Post-processing is where you can refine your images and make them stand out.
- Software: Use editing software like Adobe Lightroom or Photoshop for color correction and retouching.
- HDR Photography: Combine multiple exposures to create a balanced image with a high dynamic range.
- Virtual Staging: Add furniture and decor digitally to showcase the potential of empty spaces.
Real Estate Drone Photography: A New Perspective
Drone photography offers a unique vantage point, capturing the property’s layout and surrounding area. This technique is particularly useful for large estates or properties with stunning landscapes.
- Regulations: Ensure compliance with local drone regulations and obtain necessary permits.
- Weather Conditions: Plan your shoot on a clear day to avoid issues with wind or rain.
- Editing: Use video editing software to create smooth, professional aerial footage.
Pricing Your Real Estate Photography Services
Setting the right price for your services can be challenging. Consider factors such as your experience, the complexity of the shoot, and the local market demand.
- Research: Analyze competitors’ pricing to understand the market rate.
- Package Deals: Offer packages that include a set number of photos, drone shots, and editing services.
- Value Proposition: Highlight the benefits of professional photography to justify your pricing.
Conclusion
Real estate photography is a powerful tool that can enhance property listings and drive sales. By mastering lighting, choosing the right equipment, and honing your editing skills, you can create stunning images that captivate potential buyers. Whether you’re using traditional photography techniques or exploring new avenues like drone photography, the key is to present properties in their best light.
For more insights into real estate photography, check out this Wikipedia page on real estate photography.
Questions and Answers
Q1: What is the best time of day for real estate photography?
A1: The best time for real estate photography is during the golden hours, which are early morning or late afternoon. This timing provides soft, natural light that enhances the property’s features.
Q2: How can I improve my real estate photography skills?
A2: Practice regularly, study professional real estate photos, and experiment with different lighting and angles. Additionally, consider taking photography courses or workshops to enhance your skills.
Q3: Is drone photography necessary for real estate listings?
A3: While not necessary for all listings, drone photography can add significant value by providing unique aerial perspectives, especially for large properties or those with scenic surroundings.
If you’re interested in learning more about our real estate photography services or have any questions, please contact us.