-
Table of Contents
Enhance your property listings and captivate potential buyers by learning how to add virtual staging to your real estate videos. Transform empty spaces into beautifully furnished homes with ease. Discover how now!
Introduction
Virtual staging is a powerful tool that can transform empty or outdated spaces into visually appealing environments, making real estate listings more attractive to potential buyers. By incorporating virtual staging into your real estate videos, you can showcase the full potential of a property, highlight its best features, and help buyers envision themselves living in the space. This guide will walk you through the process of adding virtual staging to your real estate videos, from selecting the right software and capturing high-quality footage to integrating virtual furniture and decor seamlessly. Whether you’re a real estate agent, videographer, or property owner, these steps will help you create compelling, staged videos that stand out in a competitive market.
How to Add Virtual Staging to Your Real Estate Videos: A Comprehensive Guide for Real Estate Video Production and Marketing
Virtual staging has revolutionized the real estate industry, offering a cost-effective and visually appealing way to showcase properties. By integrating virtual staging into your real estate videos, you can create compelling visual narratives that captivate potential buyers. This comprehensive guide will walk you through the process of adding virtual staging to your real estate videos, ensuring that your marketing efforts are both effective and professional.
To begin with, it is essential to understand what virtual staging entails. Virtual staging involves using software to digitally furnish and decorate a property, providing a realistic representation of what the space could look like when fully furnished. This technique is particularly useful for vacant properties, as it helps potential buyers visualize the potential of an empty space. The first step in adding virtual staging to your real estate videos is to capture high-quality footage of the property. Ensure that the lighting is optimal, and the camera angles highlight the best features of the space. A well-shot video serves as the foundation for effective virtual staging.
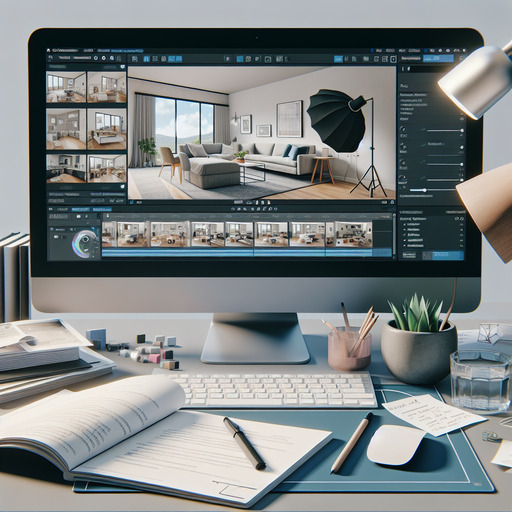
Once you have your footage, the next step is to select a virtual staging software that meets your needs. There are several options available, ranging from user-friendly applications to more advanced programs that offer a wide array of customization features. When choosing a software, consider factors such as ease of use, the quality of the virtual furniture and decor, and the ability to export high-resolution videos. After selecting the appropriate software, import your video footage into the program. This process typically involves uploading the video file and selecting the specific frames or scenes you wish to stage.
With your footage imported, you can now begin the virtual staging process. Start by selecting furniture and decor items that complement the style and layout of the property. Most virtual staging software offers a variety of options, allowing you to choose pieces that match the aesthetic you are aiming for. As you place these items within the video, pay close attention to scale and proportion to ensure that the virtual elements look realistic and cohesive with the actual space. Additionally, consider the flow of the video and how the staged elements will guide the viewer’s eye through the property.
After completing the virtual staging, review the video to ensure that all elements are seamlessly integrated. Look for any inconsistencies or areas where the virtual staging may appear unnatural. It may be helpful to get a second opinion from a colleague or use the software’s preview feature to catch any potential issues. Once you are satisfied with the staging, export the final video in a high-resolution format suitable for your marketing platforms.
The final step in the process is to incorporate the virtually staged video into your marketing strategy. Share the video on your website, social media channels, and real estate listing platforms to reach a broad audience. Additionally, consider using the video in email marketing campaigns and virtual tours to provide potential buyers with an immersive experience. By effectively utilizing virtual staging in your real estate videos, you can enhance the appeal of your listings and attract more interested buyers.
In conclusion, adding virtual staging to your real estate videos involves a series of steps, from capturing high-quality footage to selecting the right software and carefully integrating virtual elements. By following this comprehensive guide, you can create visually stunning videos that showcase the full potential of your properties, ultimately driving more interest and sales.
Q&A
1. **How can I add virtual staging to my real estate videos?**
To add virtual staging to your real estate videos, follow these steps:
1. **Capture High-Quality Footage**: Record clear and well-lit videos of the empty property.
2. **Choose Virtual Staging Software**: Select a virtual staging software or service that supports video, such as Matterport, BoxBrownie, or VHT Studios.
3. **Upload Your Video**: Upload your video footage to the chosen platform.
4. **Select and Customize Furniture**: Use the software to add and customize virtual furniture and decor to the empty spaces in your video.
5. **Render the Video**: Once satisfied with the staging, render the video with the virtual elements included.
6. **Review and Edit**: Review the staged video for any adjustments needed and make edits as necessary.
7. **Export and Share**: Export the final video and share it on your real estate listings, social media, or other marketing channels.