-
Table of Contents
Discover the ultimate guide to setting up a church media room for seamless live streaming and elevate your worship experience today! Learn more here.
Introduction
Setting up a church media room for live streaming involves careful planning. Creating a dedicated space with the right equipment ensures high-quality broadcasts that inspire your congregation. As more churches embrace digital platforms, having a well-equipped media room helps expand your reach. This guide covers essential steps for setting up a media room. It will also address key elements like selecting equipment, optimizing the room’s layout, and ensuring good audio and video quality.
Whether you’re building from scratch or upgrading, following these insights will help improve your church’s online presence and foster stronger connections with your community.
Non-Profit Digital Marketing: Setting Up a Church Media Room for Seamless Live Streaming
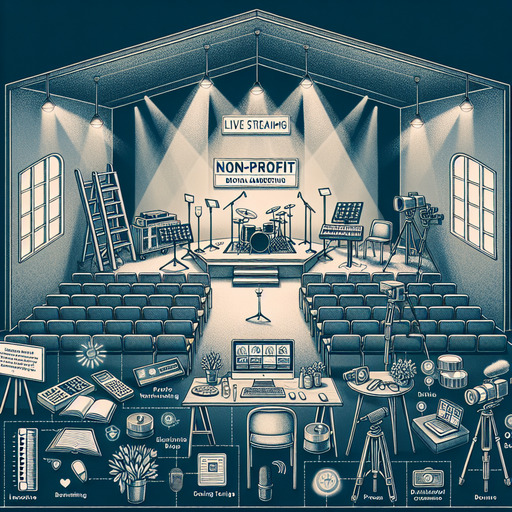
Churches today are using live streaming to connect with people far beyond their physical locations. Setting up a media room is a key part of making sure your live streams are smooth and professional. The first step is choosing the right space. The media room should be located in a quiet part of the church to avoid background noise and interruptions.
Once the space is chosen, it’s time to think about equipment. A good-quality camera is essential for delivering a clear video. Make sure the camera has excellent resolution and performs well in low light. Pair the camera with a high-quality microphone. Lapel or shotgun microphones work well because they reduce background noise while capturing clear sound from the speaker.
Next, ensure you have a powerful computer to handle your live stream. The computer should have a fast processor and enough RAM to run your streaming software smoothly. Consider using video capture cards to improve the quality of your broadcast.
Equipment and Technology Setup
Choosing the right streaming software is another key step. There are many options like OBS Studio, Streamlabs, and vMix. Pick one that fits your team’s skills and your church’s needs. Look for software that integrates well with your equipment and makes managing live streams easier.
A reliable internet connection is critical. Always use a wired Ethernet connection for streaming, as it’s more stable than Wi-Fi. Aim for at least 5 Mbps upload speed to avoid interruptions in your live stream. It’s a good idea to test the connection before each service to ensure everything runs smoothly.
Lighting plays a big role in the quality of your video. Good lighting makes the video more appealing to viewers. Use soft, diffused lights like LED panels or softboxes to create an even, flattering light. Position the lights to minimize shadows and highlight the speaker clearly.
Enhancing Donor Engagement Through Effective Church Media Room Setup
A well-organized media room can help boost donor engagement. High-quality live streams can make viewers feel more connected, which encourages donations. To achieve this, you need reliable video and audio equipment. Opt for cameras that offer HD video and can pan, tilt, or zoom to capture different angles. Audio is just as important as video, so invest in good microphones that pick up clear sound without interference.
Think about your media room’s layout. Keep things organized by designating specific areas for each task—video production, audio mixing, and streaming management. This will improve workflow and reduce the chance of technical problems. Adequate lighting will also enhance your live streams, making them look more professional and engaging for viewers.
The streaming platform you choose matters too. Platforms like YouTube, Facebook Live, and Vimeo allow for live comments and interactions, helping viewers feel more engaged. By making your content more interactive, you can foster a stronger sense of community and encourage donations.
Training Your Media Team and Evaluating Results
Once the setup is complete, it’s crucial to train your media team. They should know how to use the equipment and handle any issues that may arise during a broadcast. Regular practice sessions will build confidence and ensure smooth operations. Consider providing ongoing training to keep your team up to date with new technologies and best practices.
After each live stream, evaluate how things went. Ask for feedback from viewers and donors. This will give you insight into what’s working well and what needs improvement. Making small adjustments based on feedback will help improve your live streams over time and keep viewers engaged.
Q&A
- Question: What equipment is essential for setting up a church media room for live streaming?
Answer: You need a high-quality camera, a video capture card, microphones, a powerful computer, streaming software, and a stable internet connection. Good lighting is also key. - Question: How can you ensure a stable internet connection for live streaming in a church media room?
Answer: Use a wired Ethernet connection instead of Wi-Fi for a more stable and faster connection. Aim for at least 5-10 Mbps upload speed and always test your internet connection before services. - Question: What are some best practices for optimizing audio quality in a church media room?
Answer: Use high-quality microphones, set up an audio mixer, and adjust sound levels to ensure clear audio. Place microphones strategically to capture voices clearly and reduce background noise.
Conclusion
Setting up a church media room for live streaming can significantly enhance your worship experience. Focus on creating a quiet, well-organized space with the right equipment. Invest in good cameras, microphones, and lighting to produce professional-quality broadcasts. A strong internet connection is crucial for smooth streaming, and training your media team will ensure the operation runs without a hitch. Regular evaluation and adjustments will keep your live streams engaging and effective.
For more detailed guidance on setting up live streaming equipment, check out this resource from TechSoup.