-
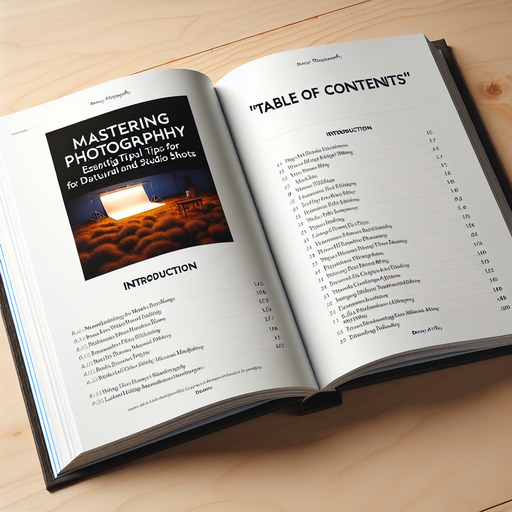
Table of Contents
Enhance your photography skills with expert lighting tips for both natural and studio shots! Discover more at Danny Avila Photography.
Introduction
Photography lighting is a crucial element that can dramatically influence the quality and mood of your images, whether you’re shooting in natural light or a controlled studio environment. Understanding how to manipulate light can help you create stunning photographs that capture the essence of your subject. In natural light photography, the time of day, weather conditions, and location play significant roles in shaping the light. Techniques such as using reflectors, diffusers, and understanding the golden hour can enhance your outdoor shots. In studio photography, mastering artificial lighting setups, including the use of softboxes, umbrellas, and various light modifiers, allows for precise control over shadows, highlights, and overall exposure. By combining these lighting strategies, photographers can elevate their work, achieving professional and captivating results in any setting.
Mastering Photography Lighting: Essential Tips for Natural and Studio Shots
Mastering the art of photography lighting is crucial for capturing stunning images, whether you are shooting in natural light or a controlled studio environment. Understanding how to manipulate light can dramatically enhance the quality of your photographs, bringing out textures, colors, and details that might otherwise go unnoticed. To begin with, natural light offers a unique and often unpredictable source of illumination. The key to harnessing natural light effectively lies in recognizing its various qualities throughout the day. Early morning and late afternoon, often referred to as the “golden hours,” provide a soft, warm light that is ideal for portrait and landscape photography. During these times, the sun is low in the sky, casting long shadows and creating a gentle, flattering glow. Conversely, midday sun can be harsh and unflattering, producing strong shadows and high contrast. To mitigate this, consider using diffusers or reflectors to soften the light and fill in shadows.
Transitioning to studio lighting, the level of control you have over your light sources is unparalleled. Studio lighting allows photographers to create consistent and repeatable lighting conditions, which is particularly beneficial for product photography, portraits, and any scenario where precision is paramount. One of the fundamental principles of studio lighting is the three-point lighting setup, which includes a key light, fill light, and backlight. The key light is the primary source of illumination and is typically positioned at a 45-degree angle to the subject. The fill light, placed on the opposite side, helps to reduce shadows created by the key light, ensuring a more balanced exposure. The backlight, or rim light, is positioned behind the subject to create separation from the background, adding depth and dimension to the image.
In both natural and studio settings, understanding the direction and quality of light is essential. Side lighting, for instance, can emphasize textures and add drama to a photograph, while front lighting tends to flatten features and reduce the appearance of depth. Backlighting, on the other hand, can create a striking silhouette effect or add a halo-like glow around the subject. Additionally, the use of modifiers such as softboxes, umbrellas, and grids can further refine the quality of light, allowing for greater creative control.
Moreover, the color temperature of light plays a significant role in the mood and tone of a photograph. Natural light varies in color temperature throughout the day, with early morning and late afternoon light being warmer, and midday light being cooler. In a studio environment, photographers can use different types of bulbs and gels to achieve the desired color temperature. For instance, tungsten lights produce a warm, yellowish light, while daylight-balanced LEDs offer a cooler, more neutral light. Understanding and adjusting the white balance settings on your camera can also help to ensure accurate color reproduction.
Finally, practice and experimentation are key to mastering photography lighting. Each shooting scenario presents unique challenges and opportunities, and developing an intuitive understanding of how light interacts with your subject will greatly enhance your ability to capture compelling images. By continually refining your techniques and staying attuned to the nuances of light, you can elevate your photography to new heights, whether you are working with the natural light of the great outdoors or the controlled environment of a studio.
Q&A
1. **Question:** What are some essential tips for achieving good lighting in natural and studio photography?
**Answer:**
– **Natural Light:**
– Use the golden hours (early morning or late afternoon) for softer, more flattering light.
– Position your subject with the light source at a 45-degree angle to create depth and dimension.
– Utilize reflectors to bounce light and fill in shadows.
– Avoid harsh midday sun; if unavoidable, use diffusers to soften the light.
– **Studio Light:**
– Invest in quality lighting equipment like softboxes, umbrellas, and LED panels.
– Use a three-point lighting setup (key light, fill light, and backlight) for balanced illumination.
– Adjust the intensity and direction of lights to control shadows and highlights.
– Experiment with different light modifiers (grids, snoots, gels) to achieve desired effects.