-
Table of Contents
Elevate your property listings with stunning aerial shots! Discover expert Real Estate Photography Drone Techniques now. Learn More
Introduction
Real estate photography has evolved significantly with the advent of drone technology, offering unparalleled perspectives and dynamic visuals that traditional ground-based photography cannot achieve. Drone techniques for aerial shots in real estate photography encompass a range of strategies designed to capture the essence and scale of properties from above. These techniques include understanding optimal flight paths, mastering camera settings for high-resolution imagery, and employing creative angles to highlight property features and surrounding landscapes. By leveraging drones, real estate photographers can produce stunning, high-quality images and videos that enhance property listings, attract potential buyers, and provide a comprehensive view of the property’s layout and environment.
Mastering Real Estate Photography: Essential Drone Techniques for Stunning Aerial Shots
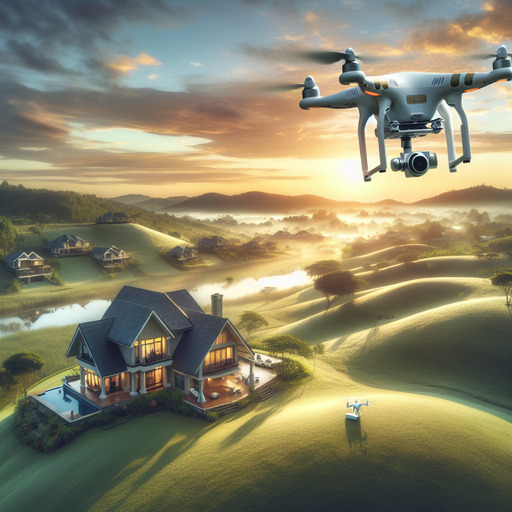
In the realm of real estate photography, the advent of drone technology has revolutionized the way properties are showcased. Mastering the art of aerial shots can significantly enhance the appeal of real estate listings, providing potential buyers with a comprehensive view of the property and its surroundings. To achieve stunning aerial shots, it is essential to understand and implement key drone techniques that can elevate the quality of your real estate photography.
First and foremost, selecting the right drone is crucial. High-quality drones equipped with advanced cameras and stabilization features are indispensable for capturing sharp, clear images. Drones such as the DJI Phantom 4 Pro or the Mavic 2 Pro are popular choices among real estate photographers due to their superior image quality and ease of use. Once you have the appropriate equipment, it is important to familiarize yourself with the drone’s controls and capabilities. Practicing in open spaces can help you gain confidence and precision in maneuvering the drone.
Equally important is the planning phase. Before taking to the skies, conduct a thorough assessment of the property and its surroundings. Identifying key features such as the layout, landscaping, and nearby amenities can help you determine the best angles and heights for your shots. Additionally, checking the weather forecast is essential to ensure optimal flying conditions. Clear skies and minimal wind are ideal for capturing crisp, stable images.
When it comes to composition, framing your shots effectively can make a significant difference. Utilizing the rule of thirds can help create balanced and visually appealing images. Positioning the property off-center and including elements such as trees, pools, or gardens can add depth and context to your shots. Moreover, varying your altitude can provide different perspectives, from low-angle shots that highlight the property’s architecture to high-altitude shots that showcase the entire neighborhood.
Lighting is another critical factor in real estate photography. The golden hours, shortly after sunrise and before sunset, offer soft, warm lighting that can enhance the property’s appearance. During these times, shadows are less harsh, and the natural light can add a touch of elegance to your images. However, if shooting during midday is unavoidable, using the drone’s camera settings to adjust exposure and white balance can help mitigate the effects of harsh sunlight.
In addition to still images, incorporating video footage can provide a dynamic and immersive experience for potential buyers. Smooth, cinematic shots can be achieved by using techniques such as the reveal shot, where the drone starts close to the property and gradually ascends to reveal the surrounding area. Another effective technique is the orbit shot, where the drone circles the property, offering a 360-degree view. Ensuring smooth and steady movements is key to producing professional-quality videos.
Post-processing is the final step in creating stunning aerial shots. Editing software such as Adobe Lightroom or Photoshop can be used to enhance colors, adjust exposure, and correct any distortions. For video footage, software like Adobe Premiere Pro or Final Cut Pro can help you create polished, engaging videos. Adding background music or voiceovers can further enhance the viewing experience.
In conclusion, mastering real estate photography with drones involves a combination of the right equipment, careful planning, effective composition, optimal lighting, and meticulous post-processing. By implementing these essential techniques, you can capture stunning aerial shots that not only highlight the property’s best features but also provide potential buyers with a comprehensive and captivating view.
Q&A
1. **What are some essential techniques for capturing high-quality aerial shots in real estate photography using drones?**
– **Plan Your Shots:** Scout the property and plan your shots in advance to ensure you capture all key features.
– **Use the Right Equipment:** Invest in a high-quality drone with a good camera, gimbal stabilization, and GPS capabilities.
– **Optimal Lighting:** Shoot during the golden hours (early morning or late afternoon) for the best natural lighting.
– **Maintain Proper Altitude:** Fly at a moderate altitude to capture detailed shots without losing context.
– **Smooth Movements:** Use slow, steady movements to avoid blurry images and create professional-looking videos.
– **Composition:** Follow basic photography principles like the rule of thirds to create balanced and appealing shots.
– **Post-Processing:** Edit your photos and videos to enhance colors, contrast, and sharpness for a polished final product.
– **Safety and Regulations:** Always follow local regulations and ensure the safety of your drone operations.