-
Table of Contents
Discover essential videography lighting tips for beginners and elevate your video production skills! Get started now!
Introduction
Videography Lighting Tips for Beginners: How to Get Started
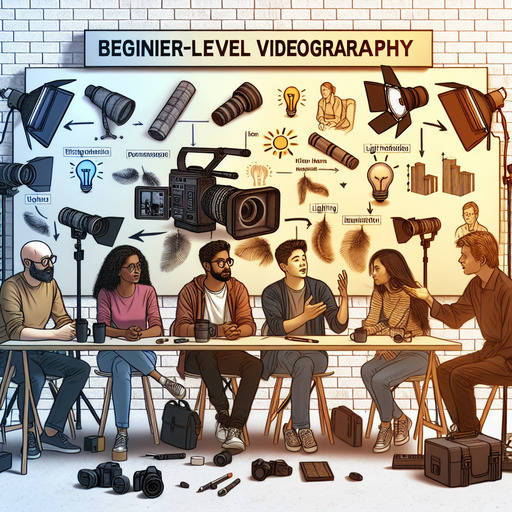
Lighting is a fundamental aspect of videography that can dramatically influence the quality and mood of your footage. For beginners, understanding the basics of lighting can seem daunting, but with a few essential tips, you can significantly enhance your video production. This guide will introduce you to the key concepts and practical advice needed to get started with videography lighting. From understanding natural versus artificial light, mastering the three-point lighting setup, to utilizing reflectors and diffusers, these tips will help you create visually compelling videos. Whether you’re shooting indoors or outdoors, these foundational lighting techniques will equip you with the knowledge to illuminate your scenes effectively and creatively.
Videography Lighting Tips for Beginners: How to Get Started
Lighting is one of the most crucial elements in videography, significantly impacting the quality and mood of your footage. For beginners, understanding how to effectively use lighting can be daunting, but with some foundational knowledge, you can dramatically improve your videos. To get started, it’s essential to grasp the basics of lighting and how different types of light sources can affect your shots.
First and foremost, natural light is a beginner’s best friend. It’s readily available and can produce stunning results when used correctly. Shooting during the golden hours—shortly after sunrise and before sunset—provides soft, diffused light that is flattering and easy to work with. However, natural light can be unpredictable, so it’s wise to have a backup plan involving artificial lighting.
When transitioning to artificial lighting, understanding the three-point lighting setup is fundamental. This classic technique involves three main light sources: the key light, fill light, and backlight. The key light is your primary source of illumination, placed at a 45-degree angle to your subject. It provides the bulk of the light and sets the overall exposure. The fill light, positioned on the opposite side of the key light, helps to soften shadows and reduce contrast. Finally, the backlight, placed behind the subject, adds depth and separates the subject from the background, creating a more three-dimensional look.
As you become more comfortable with these basics, experimenting with different types of lights can further enhance your skills. LED lights are popular among beginners due to their energy efficiency, adjustable color temperatures, and portability. Softboxes and ring lights are also excellent choices for achieving soft, even lighting, which is particularly useful for interviews and vlogs. On the other hand, hard light sources, such as direct sunlight or unmodified LED panels, can create dramatic shadows and highlights, adding a more dynamic feel to your footage.
In addition to the type of light, the color temperature plays a significant role in setting the mood of your video. Measured in Kelvin (K), color temperature ranges from warm (yellow/orange) to cool (blue). Understanding how to balance these temperatures can help you achieve a natural look or create a specific atmosphere. For instance, a warm color temperature (around 3200K) can evoke a cozy, intimate feeling, while a cooler temperature (around 5600K) is often used to mimic daylight.
Moreover, the placement and distance of your lights relative to the subject can drastically alter the final image. Moving a light closer to the subject will increase its intensity and soften shadows, while moving it further away will decrease its intensity and create harsher shadows. Additionally, using diffusers, such as softboxes or umbrellas, can help spread the light more evenly and reduce harshness.
Finally, don’t overlook the importance of practical lights—everyday light sources like lamps, candles, or even computer screens. These can add a layer of realism and depth to your scenes, making them more engaging. Practical lights can also serve as additional light sources to fill in shadows or highlight specific areas of your frame.
In conclusion, mastering videography lighting involves a blend of understanding basic principles and experimenting with different techniques and tools. By starting with natural light and gradually incorporating artificial lighting setups, you can develop a keen eye for how light interacts with your subjects and scenes. As you gain experience, you’ll find that effective lighting can transform your videos from amateur to professional, making your content more visually appealing and impactful.
Q&A
1. **Question:** What are some essential lighting tips for beginners in videography?
**Answer:**
– **Use Natural Light:** Utilize sunlight as a primary light source when possible.
– **Three-Point Lighting:** Implement key light, fill light, and back light to create depth and dimension.
– **Soft Light:** Use diffusers or softboxes to soften harsh shadows.
– **Avoid Mixed Lighting:** Stick to one color temperature to maintain consistency.
– **Use Reflectors:** Bounce light to fill in shadows and add balance.
– **Control Light:** Use flags, barn doors, or grids to shape and direct light.
– **Experiment:** Test different setups to see what works best for your scene.